Diagnostic Toolbox (G4748904)
Select the Browse all selection box. All TOPIx features and content tabs will then be displayed.
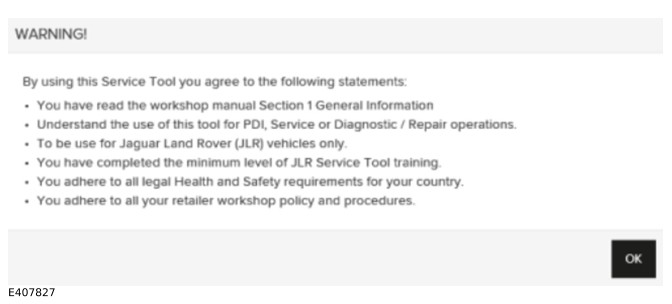
Next, select Diagnostics. Upon selecting this tab, a warning message will be displayed. This message will appear every 24 hours. Select OK to agree and continue.
If you decide to proceed to the Diagnostics tab without the green READY icon being shown, a red warning message is displayed.
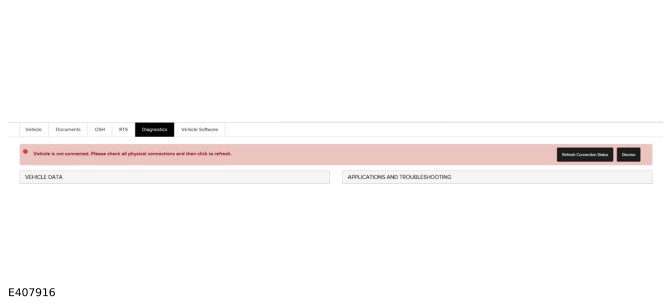
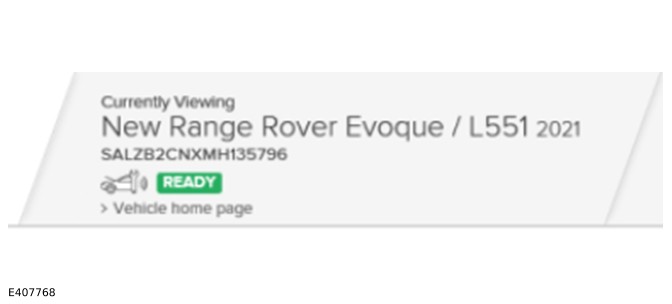
Wait a short period of time (10-20 seconds) before selecting Refresh Connection Status. The Dismiss button will clear the warning message but will not manually refresh the status. When vehicle connection and module data collection have been achieved, the READY icon will appear under the Vehicle Identification Number (VIN). When this is displayed, the vehicle is ready to run diagnostics.
If a module data collection has not occurred within the last 24 hours, a message will be displayed within the VEHICLE DATA panel to inform that a Network Integrity Test (NIT) is in progress. Wait a few seconds to allow the screen to automatically refresh, or manually refresh the TOPIx page.
A timestamp and distance are shown within the VEHICLE DATA panel. These inform you of the last time the vehicle was read and module data was acquired.
- Green RESPONDED - Achieved communication to a module and no Diagnostic Trouble Codes (DTC)s are set.
- Amber DTC - Achieved communication to a module and one or more DTC are set.
- Red NO RESPONSE - Communication to a module has not been achieved and needs to be investigated.
Fault Timeline
The Fault Timeline feature shows the occurrence of DTCs and provides a reference to a date and time for each event. More information will be displayed when the cursor is hovered over each point. It is also possible to zoom in by creating a box around a DTC.
DTC Help text and DTC Snapshot become active when the DTCs function is in use within the APPLICATIONS AND TROUBLESHOOTING panel.
For more details on DTCs, refer to the Diagnostic Trouble Codes (DTC) and Snapshot section of TOPIx Cloud Diagnostics and Workflow
Diagnostic Tests
The Diagnostic Tests toolbox contains specific tests which can be selected and completed from TOPIx.
Certain diagnostic tests will not need communication to a vehicle as they include physical and visual checks to be completed on a vehicle. The instructions will inform you if the Vehicle Communication Interface (VCI) is required and diagnostic communication has to be done.
Follow the on-screen instructions to complete a test. Tests can be re-run to validate a repair if necessary.
JLR Retailers ONLY
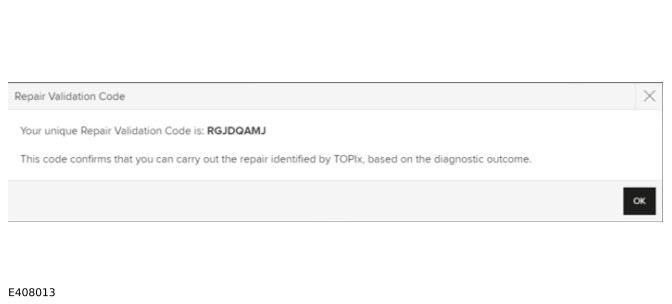
If a fault is found, TOPIx will create a Repair Validation Code (RVC) and display it on screen for you to record on your job card and warranty claim submission. Each RVC is unique to a retailer user group, diagnostic test, and repair to a fault found. This means that individual approved users at the retailer can continue the same test and use the same RVC code for the warranty repair claim.
This code confirms that you can complete the repair identified by TOPIx, based on the diagnostic outcome.
Select Link to repair and this will hyperlink to the repair procedures within the TOPIx workshop manual.
Module Programing
The Module Programing tab displays a list of modules where content is available within TOPIx Cloud Diagnostics to replace or update a module. It also applies the latest available software and necessary setup and configuration to the selected module.